Using the 3d Field Viewer
Navigate the 3D Viewer
Access the 3D Viewer from anywhere in GOMsmart by clicking the menu at the top...
Access Reports, Charts, Well Logs, Downloads from the Map(Hotlink)
Tap once on the map on the feature of your choice. This is called a “Hotlink.”...
Add Paleo Surfaces
To change what features are visible on the map, expand the Layers list on the menu at the top left...
Save Image
Clicking the Take Screenshot button at the bottom of the Viewer saves...
Tech Support/Requirements
The 3D Field Viewer requires WebGL2-enabled, 64-bit browsers. A number of other...
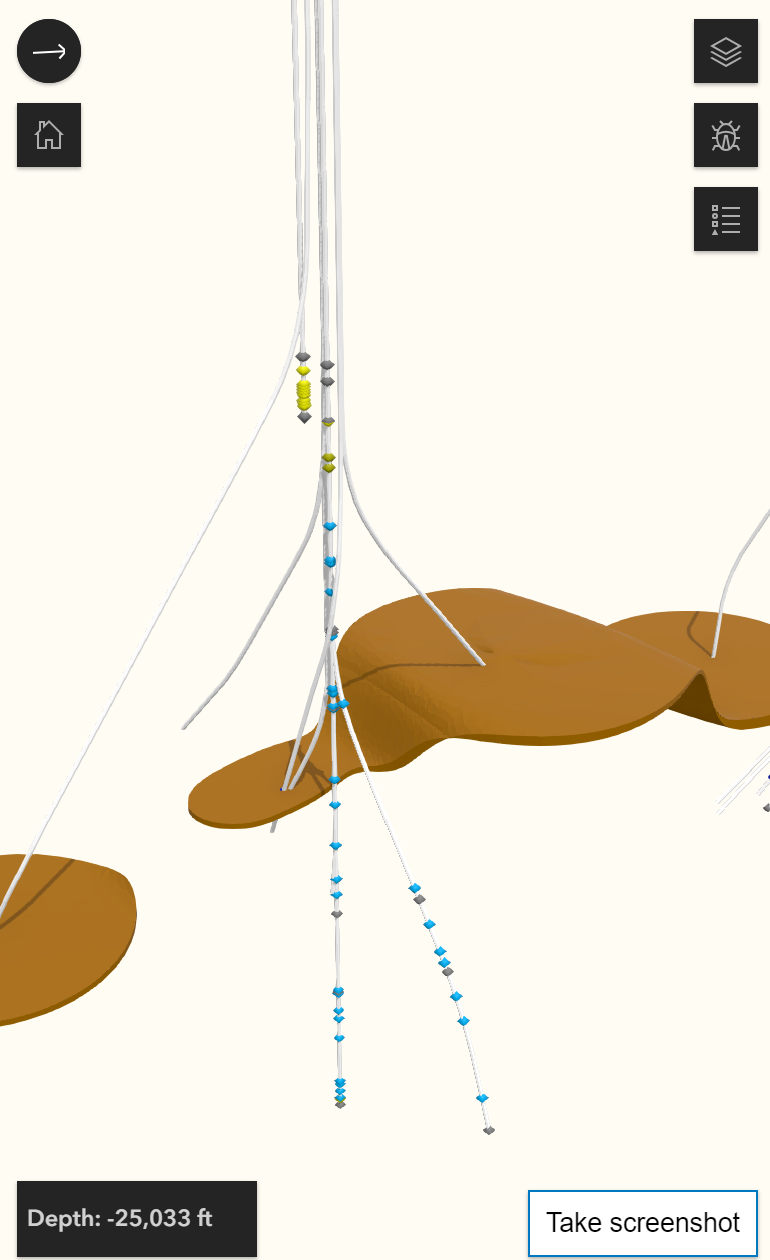
Navigate the 3D Viewer
Access the 3D Viewer from anywhere in GOMsmart by clicking the menu at the top right of the navigation bar or by clicking on the 3D Field Viewer tab. Linking to the 3D Field Viewer is also available in the Block section of the Main tab and when drilling down on a Field. Navigation in the 3D Viewer is fairly straightforward.
- Pan with a click and drag in the view.
- Zoom with your mouse's scroll wheel, pinching-in or pinching-out on mobile devices, or pressing the [+] and [-] buttons at the top left.
- Rotate with with a right-click and drag in the view (roate with two fingers simultaneously on mobile devices).
- The view can be reset by clicking the Home button the left.
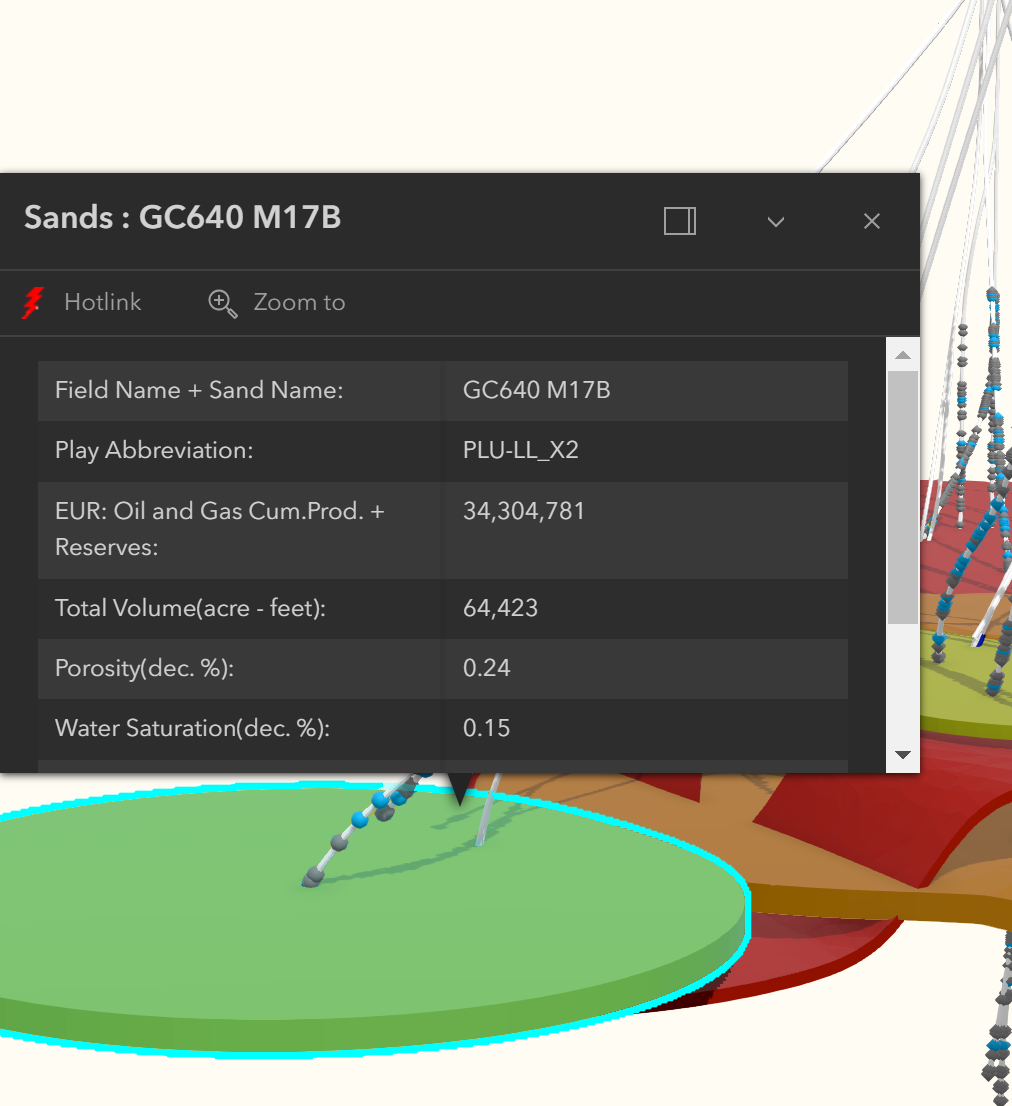
Access Reports, Charts, Well Logs, Downloads from the Map(Hotlink)
- Tap once on the map on the feature of your choice. This is called a “Hotlink.”
- A view attributes are shown for the selected feature. But clicking the red lightning bolt Hotlink button leads to optoins for Reports, Charts, Downloads, Well Logs, etc.
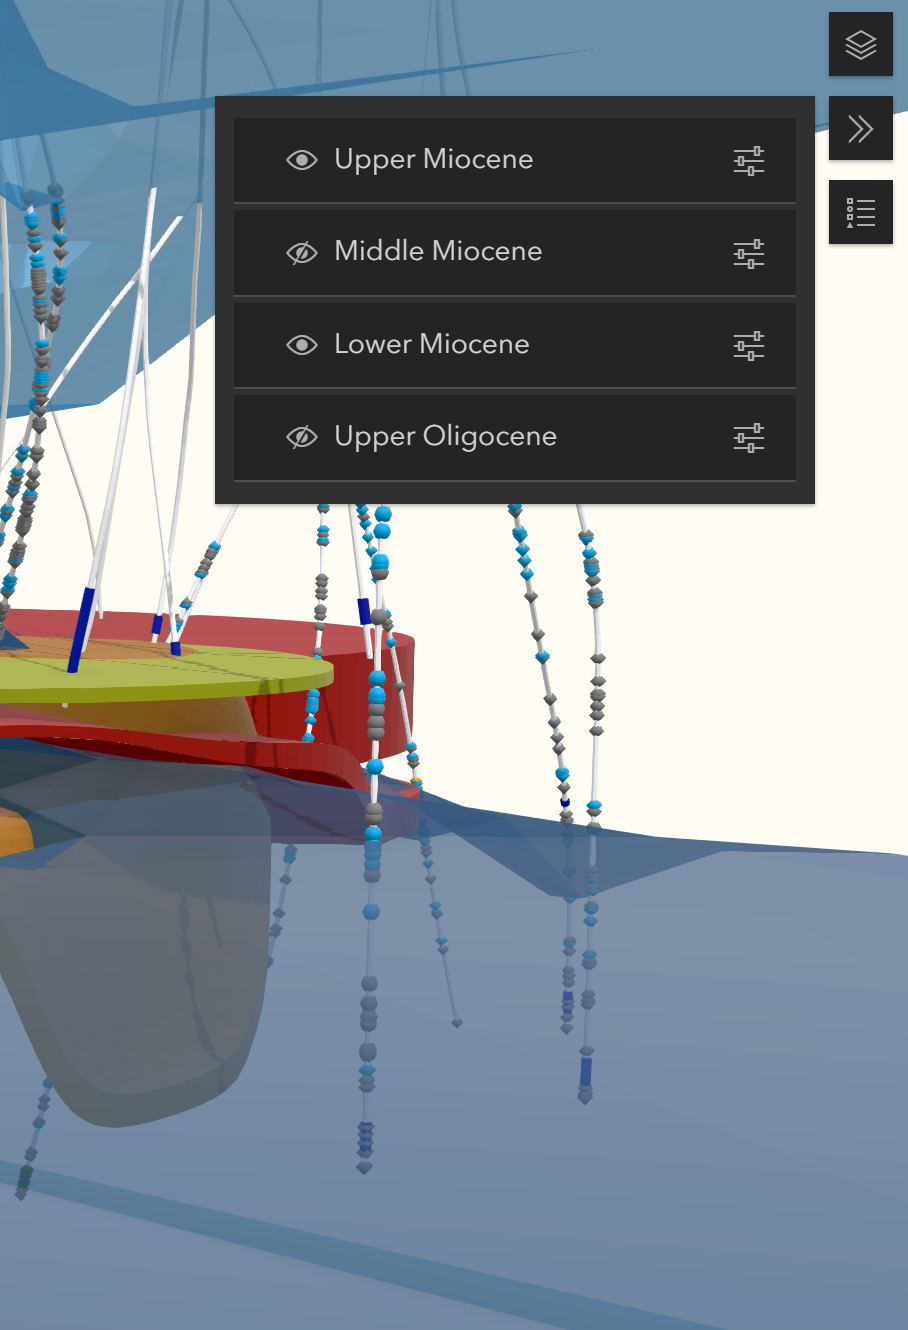
Paleo Surfaces
- Surfaces have been created through the shallowest paleo picks of every subseries, as long as there are at least six wells with paleo picks of a given subseries.
- The surfaces can be made visible (turned on) by clicking the bug button on the right side of the viewer.
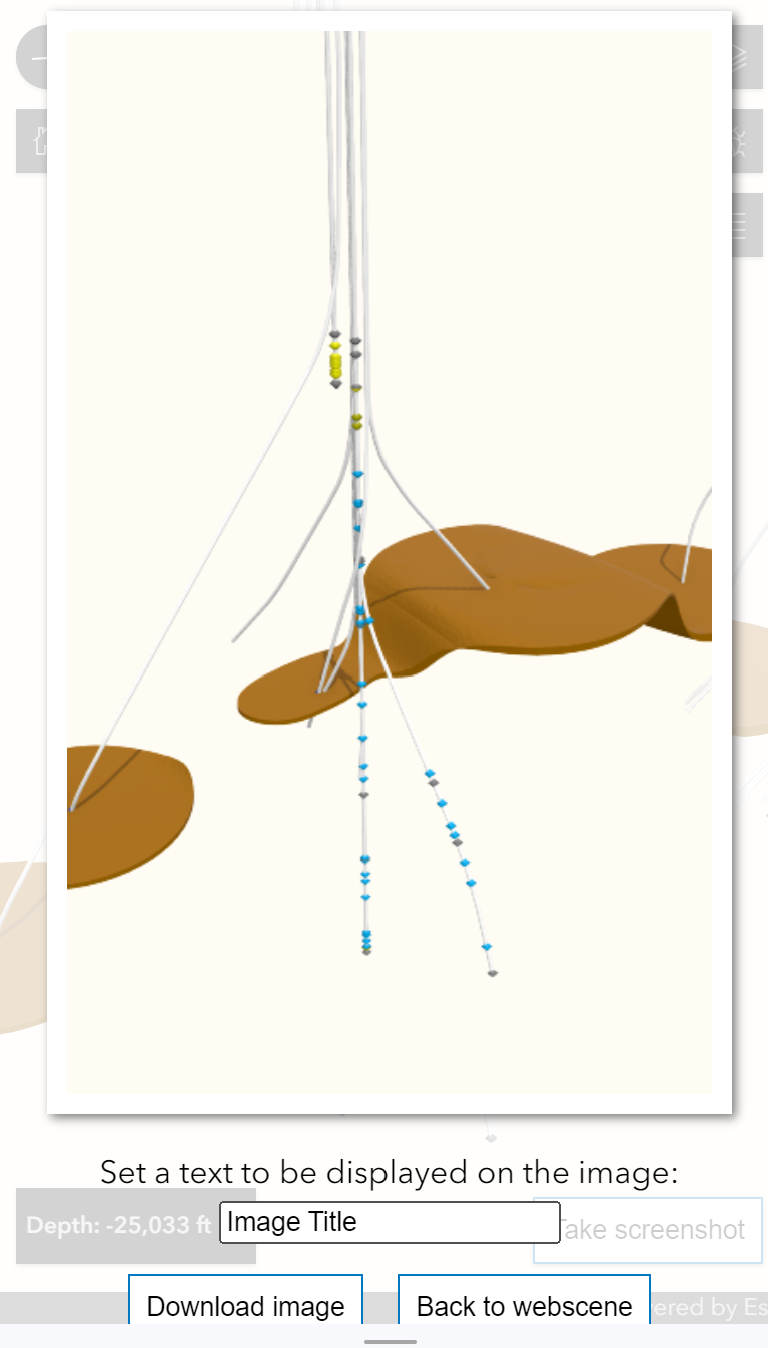
Save Image
Clicking the Take Screenshot button at the bottom of the Viewer saves the image, with an option to set a title within the image.
Tech Support/Requirements
The 3D Field Viewer requires WebGL2-enabled, 64-bit browsers. A number of other specs and suggestions are available here, particularly if you do not see data loading into the 3D view.
For all other questions and suggestions, please contact us at contactesa@earthsci.com.